Sunday, September 15, 2013

Math Rebel Trigonometry Skirt


 A very simple skirt that I made using the fabric that I designed and had printed at Spoonflower.  The skirt is a simple a-line design.  Instead of including the yoke and a zipper, I made a facing to encase a wide elastic band.

The trigonometry fabric is knit, so I stretched it slightly along the bottom edge and tightened it a tad at the upper edge to accommodate the a-line shape.  I finished the hem with bias tape.

The skirt itself is a smokey gray cotton.  The trig fabric is a faded black, so the two together work nicely.  I added a little pocket with the sine graph, which is convenient for holding mechanical pencils and other such mathematical things.  
 My next project will be to design more math fabric but with a bit more color and more useful equations....I'm thinking the quadratic equation and a collections of graphs with their functions.  I am getting my inspiration from the successes and struggles of my Math 3 class at SHS.  Love that class!!!!

Yes, it's nerdy...but being a math teacher, it is how I roll!


Friday, July 5, 2013

Classic Plaid

Classic Plaid


I love, love, love this fabric.  It took a long time for me to cut it because I enjoyed dreaming about the possibilities.  The fabric is grey with light grey, black, and lavender plaid.  I chose a vintage vogue pattern.  I loved the v-neck and slight v in the back as well.

Matching the plaids was simple as the repeat was symmetrical and regular.  I simply made sure the notches were placed at corresponding part of the repeat.  This is made easier when the hem and waistline are placed on exactly the same lines for all of the pieces.  I also made sure that the center fronts and center backs of both the bodice and skirt were aligned with the enter of the plaid design.  

I made a belt as well.  I bought a buckle and some mesh belting material.  I melted the end of the material before covering it.  I made one hole with an awl and stitched it with embroidery thread according to the pattern instructions.


I did need to add loops to hold straps in place.  I never like to fuss with the straps of undergarments when I am in front of a classroom of students.  It is not unusual for me to sew these straps in my sleeveless dresses.

  As you can see, the bodice is lined in a beautiful piece of lavender charmeuse.  I had just enough of this scrap to use for this project.  I am very happy about the lining.

The kindest thing that I can do for myself when I sew a garment, is to finish the inside beautifully, with lovely linings and fine finishes.  Only I see these, so they are my way of saying to myself,
"You are special and you deserve this."  It is good to be good to ourselves.  :-)

Next project.....more plaid......


Wednesday, July 3, 2013

Feelin' Groovy

Feelin' Groovy


A fun little corduroy mod dress. 

The first challenge was in matching the pattern across the back seam.  This was not simple since the chevron design is not symmetrical.  So I cut out one side of the back and laid it on the fabric in a place where it matched perfectly.


 I ran a chalk line down the seam allowance of the piece that I had cut.  Then I chalked the edge of that piece.  I knew that my new seam line would have to be 5/8' from that line and it was underneath the seam allowance of the piece on top.  Sounds complicated, but then I marked the seam allowance on the uncut fabric.  I could place the pattern itself on the fabric with the seam allowance matched up.  This insured that it was in proper placement.  


I also pinned it together before sewing and folded it back to check the pieces.  I adjusted them and pressed a crease at the place where I would stitch.    


It is a tedious process for one seam, but the finished garment is so much better.  I use this technique when making Hawaiian shirts with large print designs.  


 It was quick to make but I wasn't quite ready for how loose it was.  It looked a little like a sack.  So I reshaped the back and I love it.  

To reshape the back, I put on the dress and pinned it with two darts at the waist...not an easy task on myself.  I then placed it on the ironing board to measure and mark the darts with chalk, making them symmetrical.  At first I just stitched the pinched out pieces, about 1 1/2 inches long,  and sewed a little band across, leaving the top and bottom of the tuck to fold loosely. 

It looked terrible.  

So I layed it back down and shaped the darts, then pressed them in place.  I top stitched them after pinning.  It gave the dress an interesting back and a nice shape.  

I hemmed it with a contrasting fabric because I barely had enough of the corduroy to make the dress.  I didn't want the dress to be any shorter.  The band gave the dress a tad more length and a nice sharp edge.

The final touch was the pocket with the big buttons.  The buttons don't actually match, they were the same size though.  

In the end, I am very happy with the dress.  I will wear it with black leggings and boots or flats.  In the winter, I can wear a long sleeve shirt underneath. 


Monday, May 13, 2013

Two Dozen Dolls

Two Dozen Dolls

Having a nervous breakdown is alarming.  After I broke, I couldn't feel anything. After several hours, my teeth had stopped chattering but my heart had stopped feeling.  The world grew cold.  I was a ghost.  I didn't know what to do.  I felt profoundly alone.  So I started making dolls.  

Sewing had always made me feel better, so it was my first thought for therapy...but sewing didn't warm my heart.  I hoped that the dolls with their smiling faces might do the trick.  Three dolls later and I wasn't feeling any joy.  Then my husband said, "you have to give them away, that is the piece that is missing".   So the journey began.....

Eva received the first doll.  She patiently let me hold her for an hour while she held her little doll.  She reminded me that we all started out bright and shiny, a story just beginning to unfold.  We all end up on a path with twists and turns that we didn't expect.  And, we all get to choose a path with heart or not.  I am choosing the path with a heart.  

Eight dolls have found their way out into the world and 16 dolls are waiting.  With each doll, I feel the heavy darkness break free and fall away.  I feel lighter.  I feel brighter.  I am coming back to life.  
I am thankful for the path my life has taken.  It has been boot camp for my soul.  
Some people say, "when life gives you lemons, make lemonade" but it wasn't that simple for me.  So I say, "Remember who you are, deep in your heart, and find ways to bring it out in the world."  
Together we can light up the darkness.   
                                        We can refuse to have hate in our hearts.
                                       We can choose to be honest and loving.
                                         We can find good in each other.
                                        We can be as bright and shiny as we were...
                                           on the day we were born.
Together, we can light up the world.


Sunday, March 24, 2013

The Little Black Dress...Yay!!!

My Little Black Dress

 I have been wanting to make a little black dress for a while now.  It needed to be simple but classy with a twist.  I found a pattern from the designer section of Vogue patterns and decided to give it a try.

Famous last words "I think I will make something simple that doesn't require me to think too hard".

This pattern was a nightmare.  Every notch had to be numbered on painters tape but the tape kept falling off or sticking to other pieces.  Some of the seam allowances had to be trimmed and a strip of fabric sewn in its place.  Others just needed a trim.


I got totally mixed up, basted all of the pieces together and at the end....they didn't match!  One armhole was tiny, the other, huge.  That wasn't right.

Thankfully I had basted them together. My problem was the result of edging all of the seams with a shiny black swimsuit fabric for contrast.  This made the seam allowance wider than the pattern needed on some of the edges.  Once I figured out where I went wrong, I marked and numbered the notches in chalk, cut off and resewed the trims at the correct seam allowance and then celebrated when the pieces matched up PERFECTLY!!!!!


It is designed to be worn over the ball of the shoulder and should have additional straps.  They never looked right, so I left them off.  The dress fit just the way it should, thank goodness because I had no idea how to adjust the fit on a dress like this.

 
And of course it looks great with the Louboutins!


Give me a few seconds to make a sweater

Give Me a few Seconds to Make a Sweater

I had a yard of this sweater knit and an hour to kill.  So I copied another sweater by laying it on a piece of grid paper and tracing off all of the pieces.  I then cut out the sweater and serged it together.  There was a strip of fabric left that I used as a cowl collar. It was a narrow strip, so I lined it with fleece.  I decided that the edges of the front should be trimmed in fleece as well.  I used a hairband to make a loop to catch around a giant velvet button on the right side of the sweater.  There is a snap on the left.  


Friday, March 8, 2013

Blackboard Trigonometry

Blackboard Trigonometry Hoodie


The first piece in my "Cheat Sheet Collection" is done.  I designed the fabric myself on my IPad and then had it printed at Spoonflower.com.    It was my first attempt at designing my own fabric......


You are probably thinking that I had to buy it which would break my rule about not buying fabric for a year....and you would be right.  BUT, I made a little exception for buying fabric that I designed myself.


I did use a jacket that I had in my stash, that was uninspired and incomplete.  It is a heavy fleece.  The trigonometric functions are in the hood lining, pockets and sleeves.  There is even some fabric in the inside front of the jacket.


I finished it off with a unit circle on the back.Nerdy is the New Cool!!!!!!!!!!!!!!!
 

Monday, March 4, 2013

As Soft As A Pink Puppy's Ears

As Soft As a Pink Puppy's Ears


I fell in love with this fabric when my labrador passed away.  I missed her soft little ears so much.  When I touched the pink fur at our local Ben Franklin's, I recognized that softness right way...it was Sandi's ears.

With a 25$ gift card, I was able to purchase the fabric for the coat.  The coat went together quickly but then hung in my closet for 2 years when I couldn't find the right lining.  I had some brown and pink geometric fabric that I had cut out but hated.  So there it hung, waiting for its lining.  

I ran across the polka dot charmuese and knew that my coat could finally be finished.  


My friends gave me advice on the buttons, a little sparkle seemed like the perfect finishing touch.


It is a cozy little coat.  But the best part is petting the soft fur on the sleeves and remembering the love of my dog.

A Little Pile of Scraps = A lot of Love

Scraps for Sister:

My little friend Tawny came over to practice her sewing skills.  She has a beautiful baby sister named Eva.  Tawny thought it would be nice to make her baby sister a blanket like the one we had made when she first started to sew, years ago.  Luckily, I had saved all of the scraps!

We made a pattern in the shape of a heart, then started cutting out flannel squares, two layers thick.  One by one, Tawny made a pattern of prints and began sewing them together.  When we had enough squares, we trimmed the blanket into our heart shape.  We also clipped the seam allowances, so that it could fray in the wash.  


After a nice soak and fluff, here is the final project....notice the cute little girls snuggled together.  It makes my heart feel as big as a flannel patchwork quilt.  

Sunday, January 27, 2013

In the Mood for a Reversible Coat

In the Mood for a Reversible Coat....

 I finally finished my reversible coat!!!!
I bought this fabric from Mood Fabrics...yes, the fabric store from Project Runway.  The fabric is a soft wool, black on one side and brown on the other.  Fabric like this deserved something unique and reversible. This project would make me think, like a killer sudoku at the end of the puzzle book.  


The first challenge, reversible seams.  Sewing them in the obvious way would result in a contrast on one side only.  So I knew I had to over lap the seams so that there would be half of a seam allowance on each side.  To do this, I had to baste a seam line on each piece, overlap them so the basting stitches matched, carefully pin them together and then sew on the basting line.  I then pressed the seam allowances open, top stitched them and trimmed the excess fabric off.  This was especially challenging along the sleeve.


When I had finished sewing together the coat, I realized that the coat was too loose for the the look I wanted.  I was not going to resew the seams, so I was faced with another puzzle.  I pinned out the excess fabric into a series of darts.  I had to carefully measure and draw the stitch lines for each dart.  I slashed the center line, overlapped the stitch lines and finished them like a seam  The perfectionist in me has issues with the darts, but from afar, the lines that were formed give a spectacular effect.  And the coat has a wonderful tapered waist.


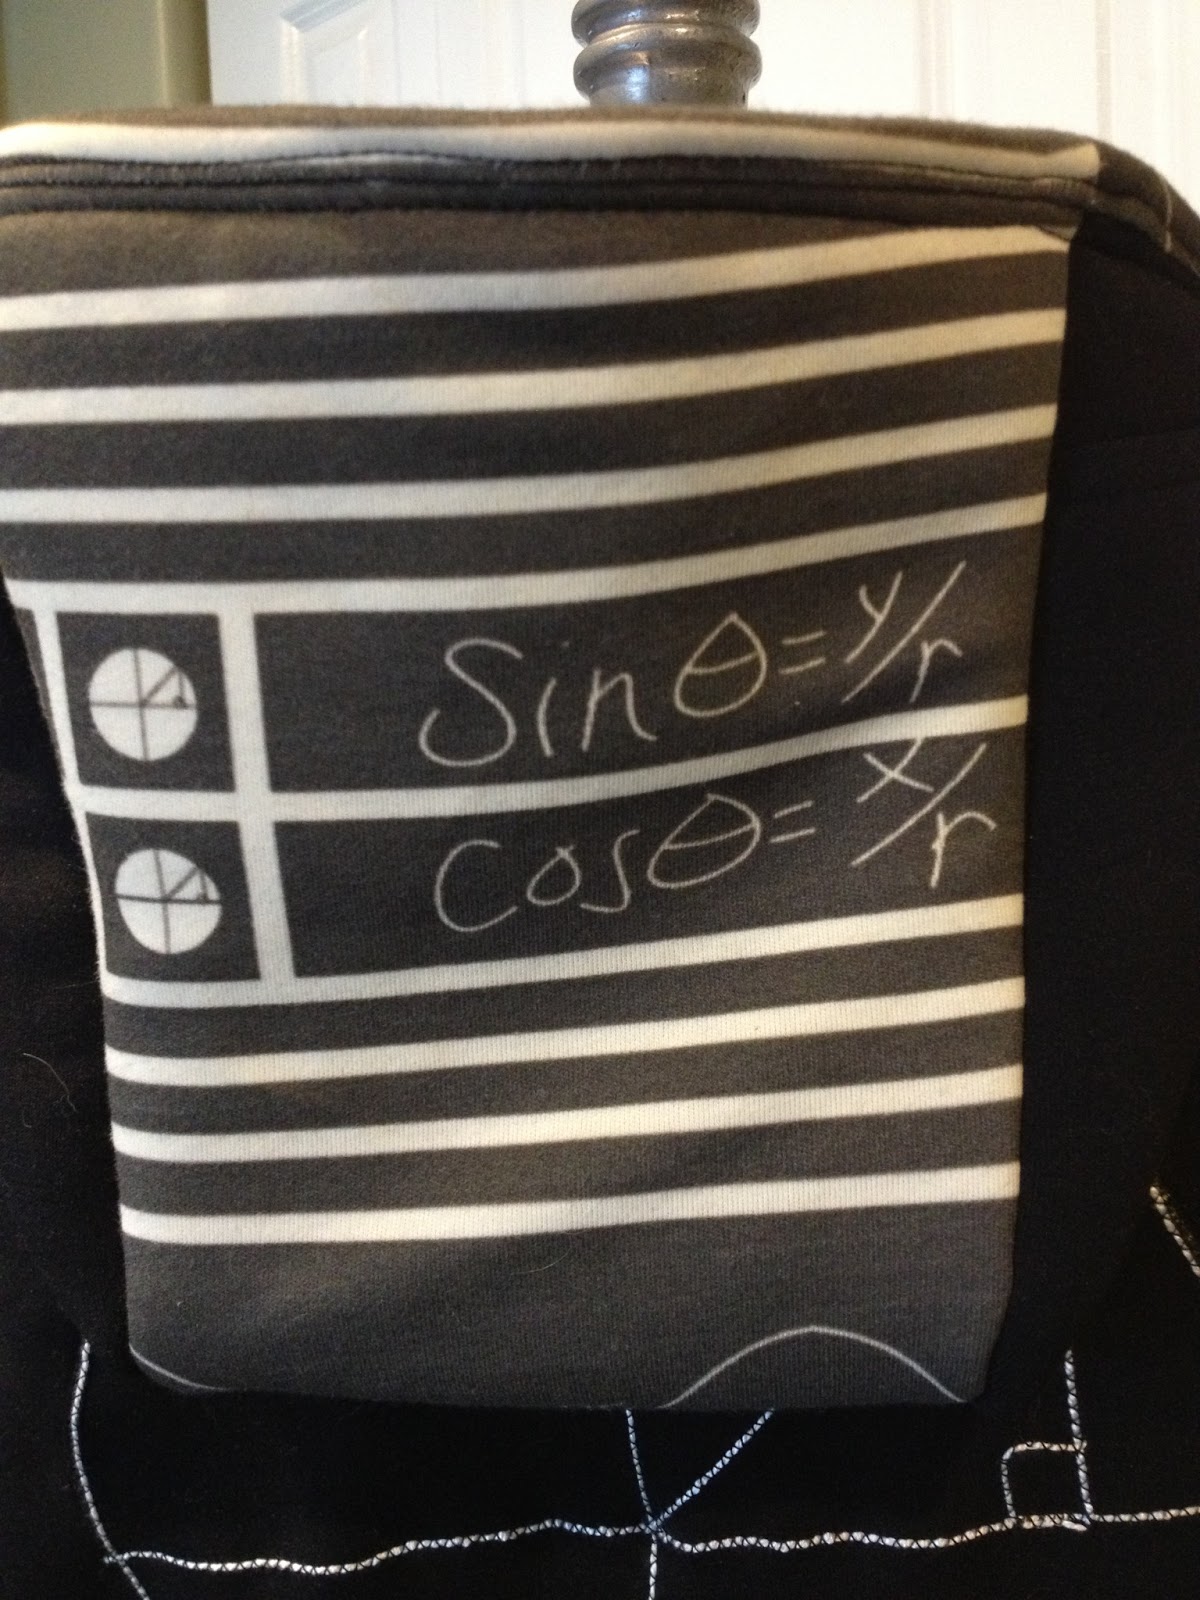
The cuffs made me crazy as did the closures.  I wanted them to be unique but struggled with the design.   I made the cuffs two layers thick but kept sewing the wrong sides together, which made both sides the same color.  Frustrating.
For the closures, I read about bound button holes in Threads magazine.  I did some unusual sewing together of pieces and clever combining so that they could be reversed on the opposite side.  It took an entire Sunday for me to figure it out.  In the end, I think it looks really sharp.  I found buttons that were black and brown.  There could not have been a better match for the button flaps.


The only downside to my coat design, is that it does not have pockets yet.  I think I will put them in eventually by splitting open a seam and creating a pocket that gets pushed into the inside, depending on the way the coat is being worn.  For now, it will remain pocketless and I will enjoy a project complete.